Important
Notice!!!
Scratch Fix Pro – Touch Up Paint Kit is used at your own risk. We are not responsible for incorrect application of the product. Please follow all instructions carefully to achieve the best results.
Scratch Fix Pro provides a cosmetic repair solution designed to reduce the appearance of scratches and chips, helping your vehicle look neater and well-maintained. For a perfectly seamless finish, we recommend consulting a professional auto body shop.
CLEANING THE APPLICATION AREA
Ensure the surface you want to repair is thoroughly cleaned using the Prep Solution provided in the kit.
Wrap the lint-free wipe around the rubber block. included in the kit (NB!!! Make sure the black part of the block is not used to clean the area as this is the abrasive side).
Apply 3-4 drops of the Prep Solution to the cloth. Do not allow the solution to drip or run down the car's paint.

Gently clean the application area using small, light strokes.
Only apply the Prep Solution to the specific area being repaired. Applying it to larger areas may cause hazy marks on the paint finish.
NB!! Make sure all dirt, wax, and polish are completely removed and the surface is fully prepared for the touch-up paint.
APPLYING THE CUSTOM-MADE PAINT
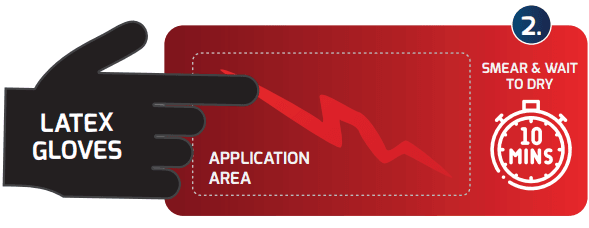
Apply the custom-made paint to the repair area in a thin, even layer. If needed, gently smear the paint flat across the chipped or scratched area using your finger or thumb while wearing the protective glove.
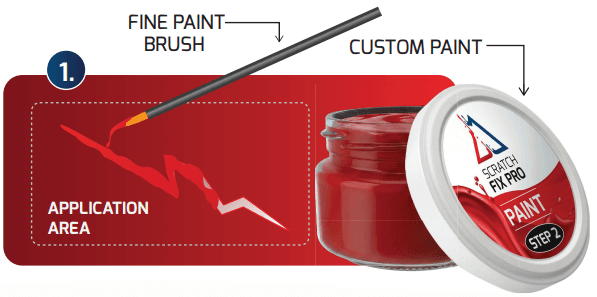
Make sure the paint is spread evenly and sits flush with the surrounding surface. Lightly wipe around the application area to remove any excess paint, taking care not to remove paint from the repair itself. Allow the paint to dry completely (approximately 10 minutes).
Once dry, apply 3–4 drops of the Prep Solution to the paper fibre cloth wrapped around the rubber block. Using light pressure, gently run the cloth over the surface to remove excess paint and blend the repair. Do not press too hard – let the Prep Solution do the work. A cotton bud (Q-tip) may be used for more precise control on smaller areas.
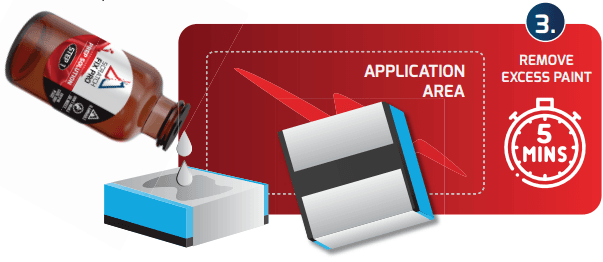
Repeat this process until all excess paint around the chip or scratch is removed and the repair blends smoothly with the surrounding paint. Leave the area to dry for 5 minutes.
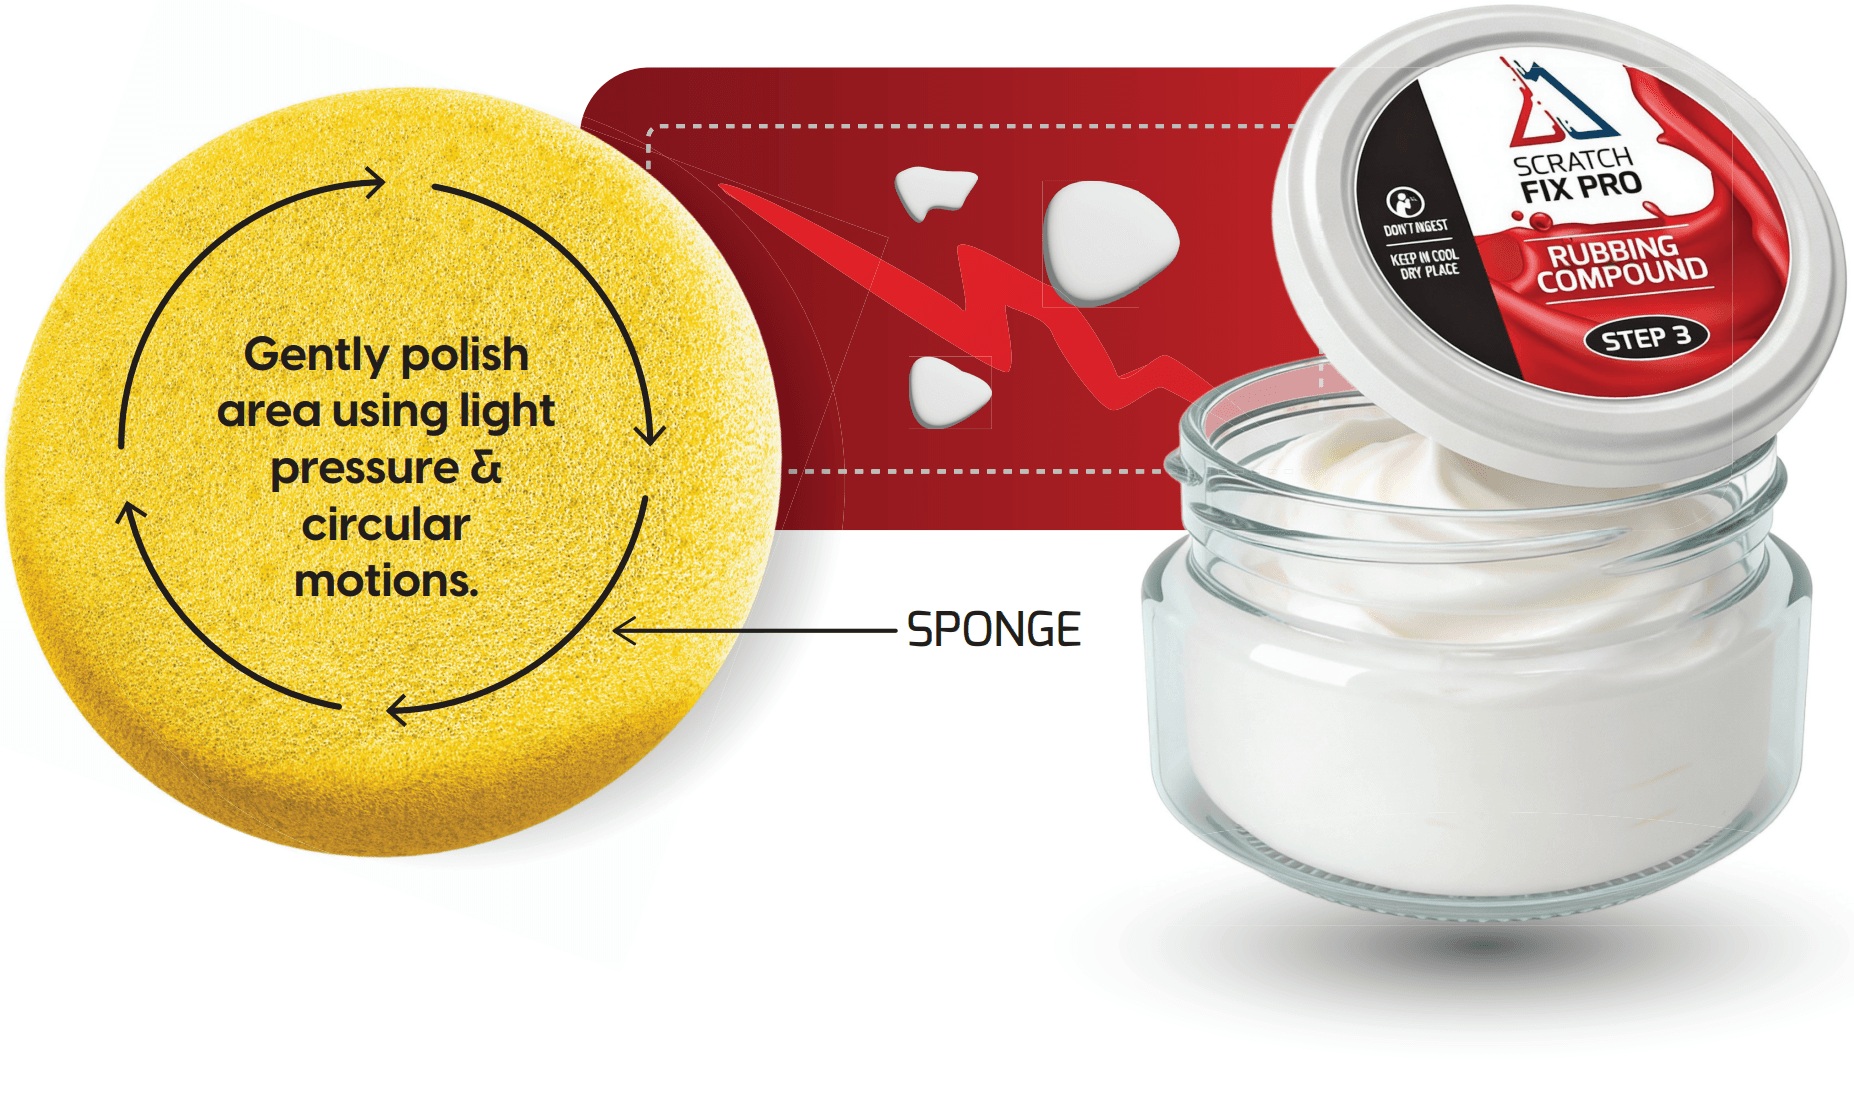
APPLYING THE RUBBING COMPOUND
The Rubbing Compound contains mild abrasives and additives designed to help blend the repaired area. It is used to create a smooth and even colour transition between the repaired area and the surrounding paint.
Apply a small amount of Rubbing Compound to the dry sponge provided in the kit. Gently polish the area using light pressure and circular motions until the surface appears smooth and blended.
APPLYING THE HAND GLAZE
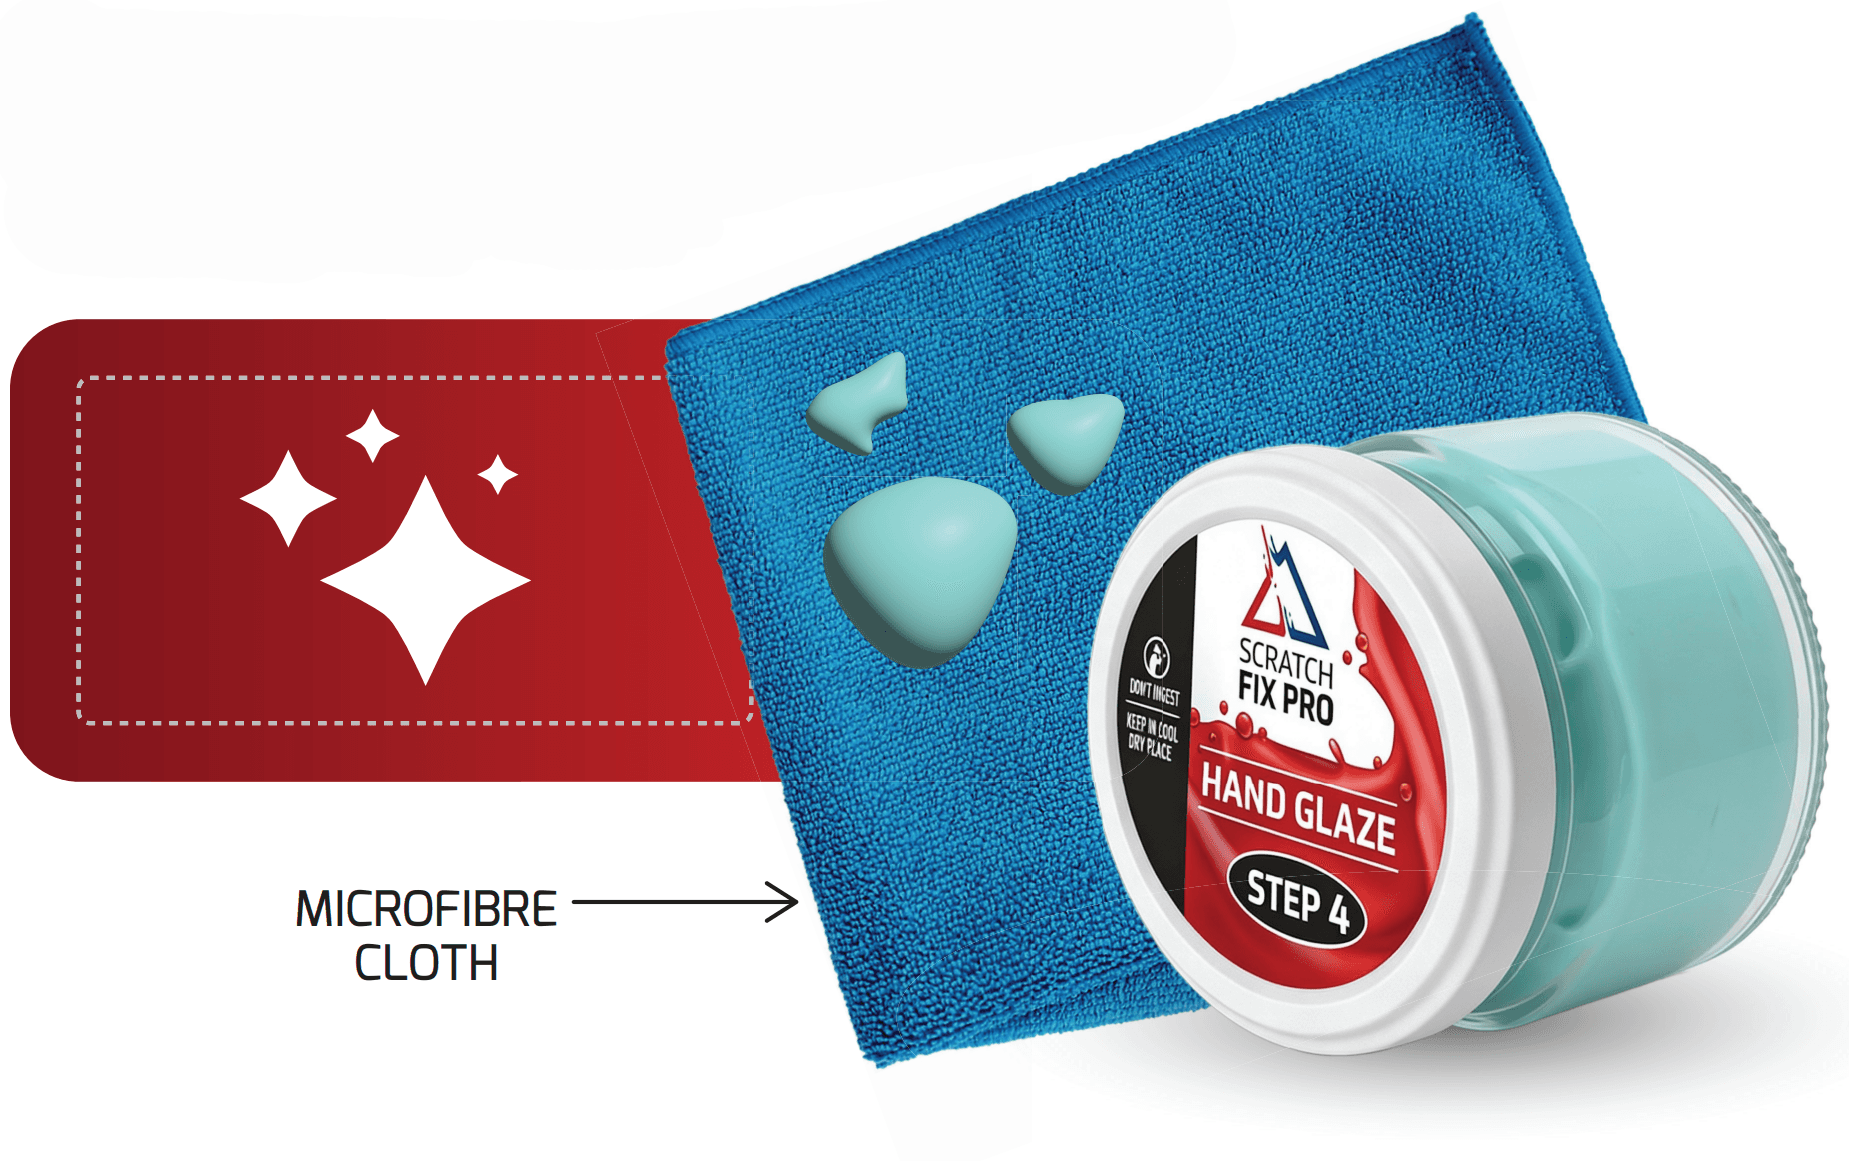
Apply a small amount of Hand Glaze to a clean microfiber cloth. Using circular motions, apply the glaze evenly across the entire panel to achieve a consistent finish.
With a second clean, dry microfiber cloth, gently wipe the surface clean to reveal the final shine.
Application Tips
- Shake the paint bottle well before use to prevent paint blobs or uneven application.
- If your vehicle has been repainted, ensure the paint has fully cured before using this product.
- As a general guideline, allow at least one month of curing time before applying touch-up paint.
- Do not wash your vehicle with pressurised water for a minimum of one week after the touch-up application.
- For deeper chips or scratches, multiple applications may be required to achieve the best results.
- You may use the Rubbing Compound and Hand Glaze to enhance the shine and finish of the repaired area.
Safety Tips
- Use in a well-ventilated area to avoid inhaling fumes.
- Wear gloves to protect skin from chemicals.
- Keep away from heat, sparks, and open flames.
- Avoid contact with eyes and mouth – rinse immediately if exposed.
- Test on a small, hidden area first to prevent paint damage.
Storage Tips:
- Store cool, dry, and out of direct sunlight.
- Keep tightly sealed when not in use.
- Keep out of reach of children and pets.